
How to Choose Your Favorite Photos from Your Proofing Gallery
Seeing your dog’s gallery for the first time is exciting… and slightly overwhelming. That “I want all of them” feeling? Completely normal.
This guide walks you through how to review your gallery, narrow your favorites, and submit your selections without second-guessing yourself.
Step 1 — Set Yourself Up for Success
Before opening your gallery, do yourself a favor:
Use a laptop or desktop, not your phone if you can help it
Phone screens make images feel smaller and more similar than they really are. A larger screen makes expressions, details, and differences much easier to see.
This one step makes the entire process easier.
View your gallery in good lighting, but without any direct light on your screen
Give yourself uninterrupted time
Pour a beverage. This is your time to relieve your experience and think about the moments you want to savor forever. Bonus points if you cuddle up on the couch with your pooch to relieve the session together!
Step 2 — Understand What You’re Looking At
Your gallery contains one album of proof images from your session.
These are lightly edited previews, not final images. They exist so you can:
Compare expressions and moments
Choose the images you love most
Decide how many images you want in your collection
Every image you select will be fully professionally edited before delivery or printing.
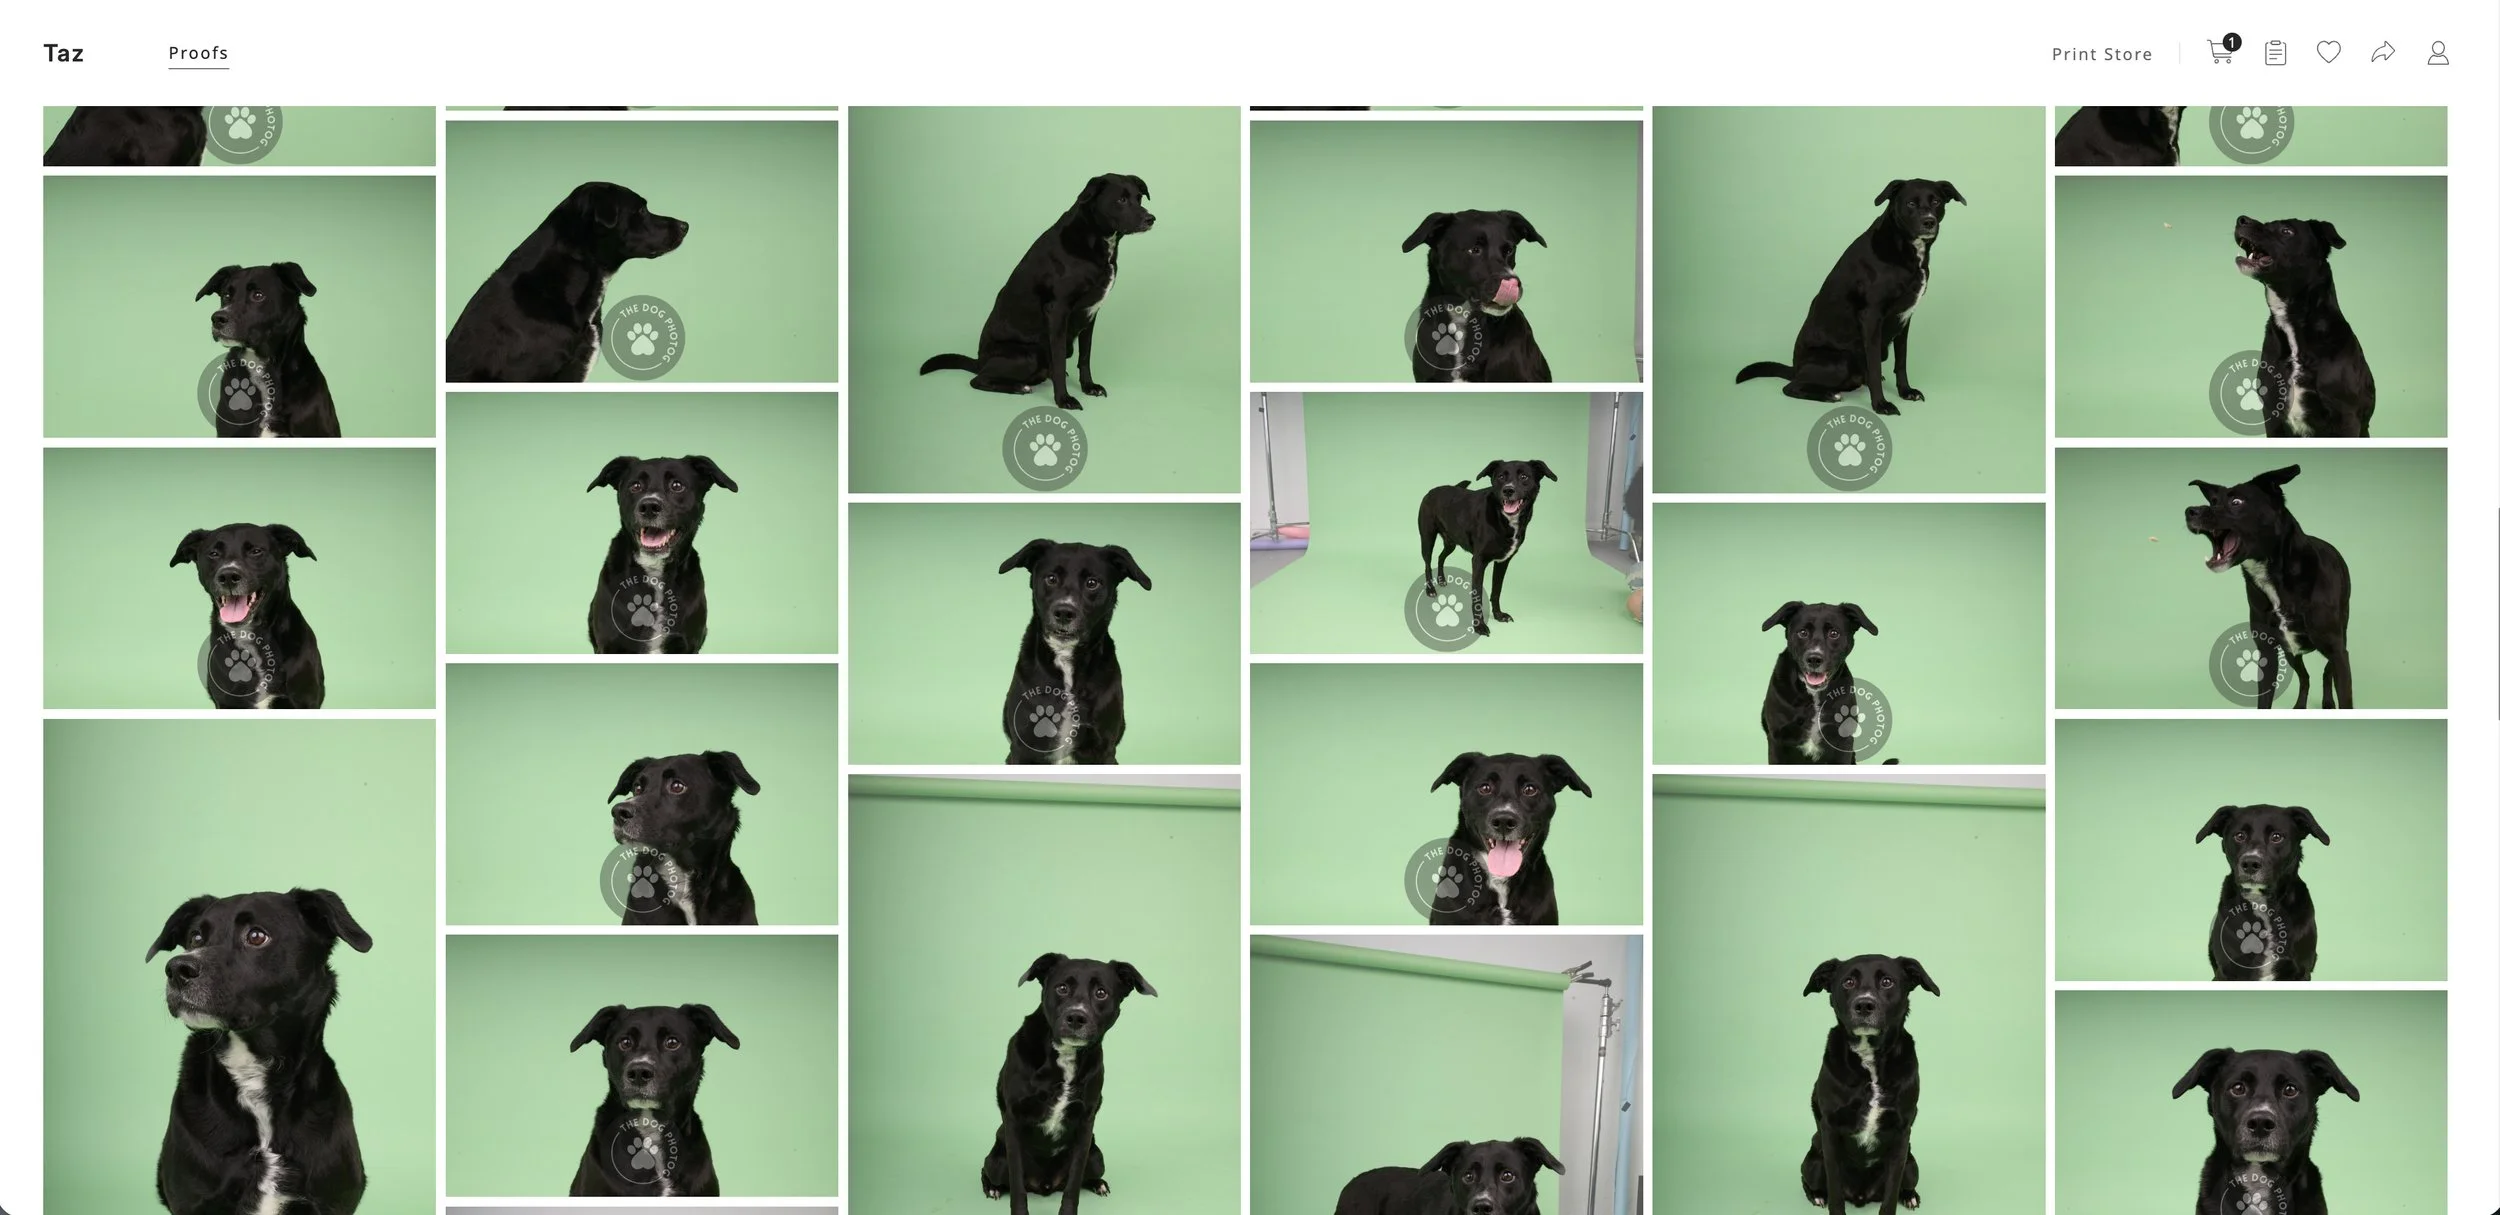
Step 3 — First Pass: Favorite Everything You Love
Open the gallery and scroll through once from beginning to end.
Your only job during this round:
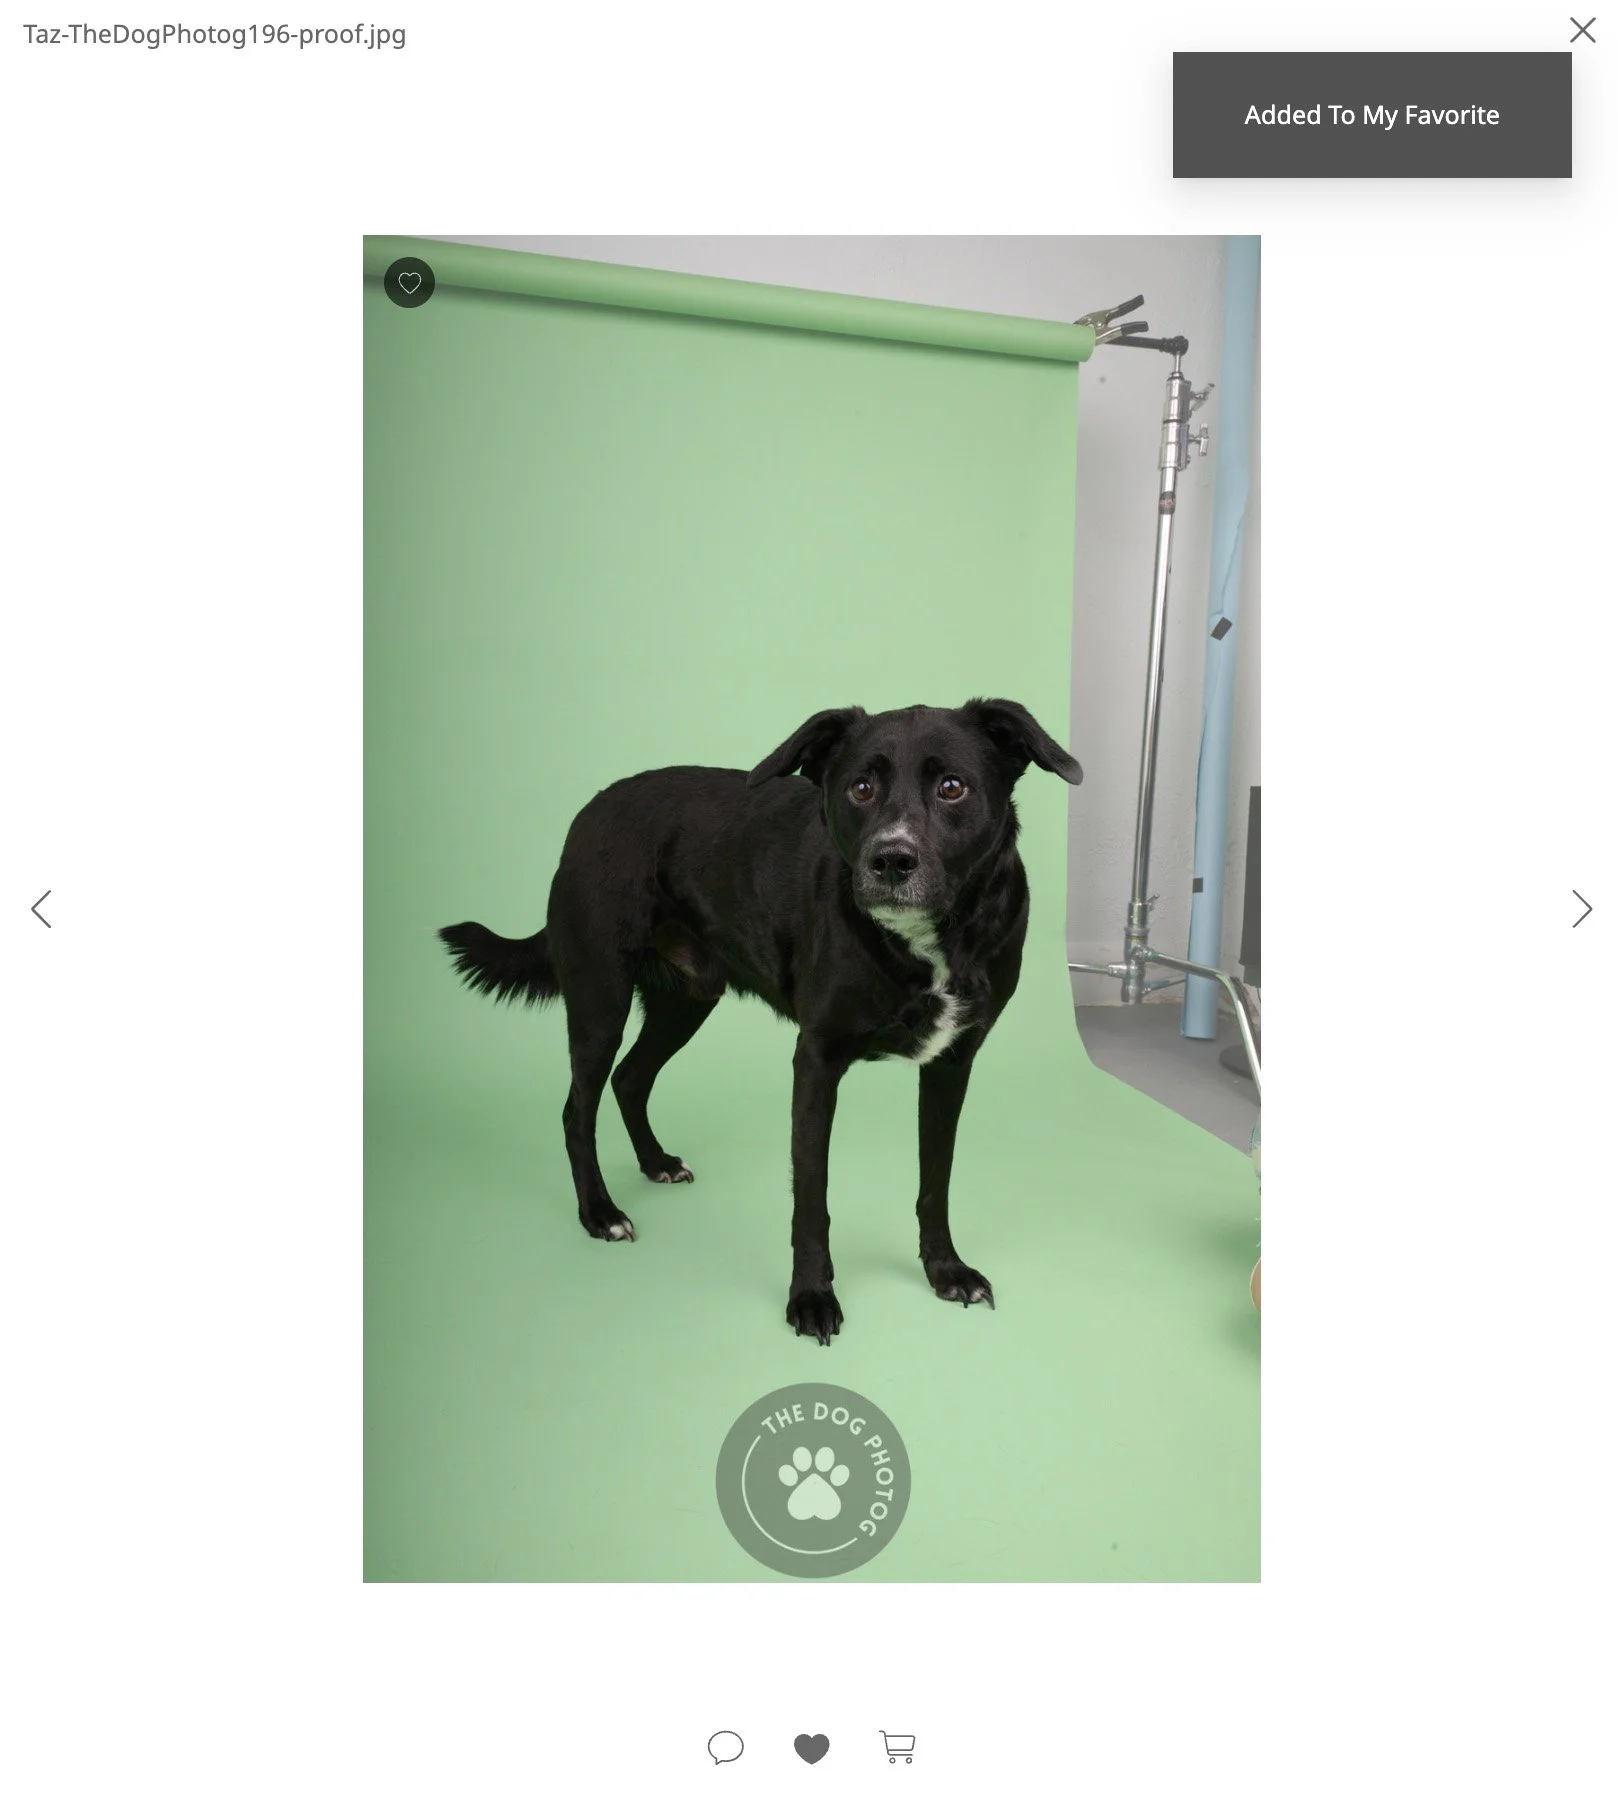
Click the ❤️ “Heart” button on any image that gives you a reaction.
Don’t compare yet.
Don’t zoom in.
Don’t think about how many you “should” choose.
This is purely a gut-reaction round.
Most clients favorite way more images than expected. Perfect. That means you’re doing it right.
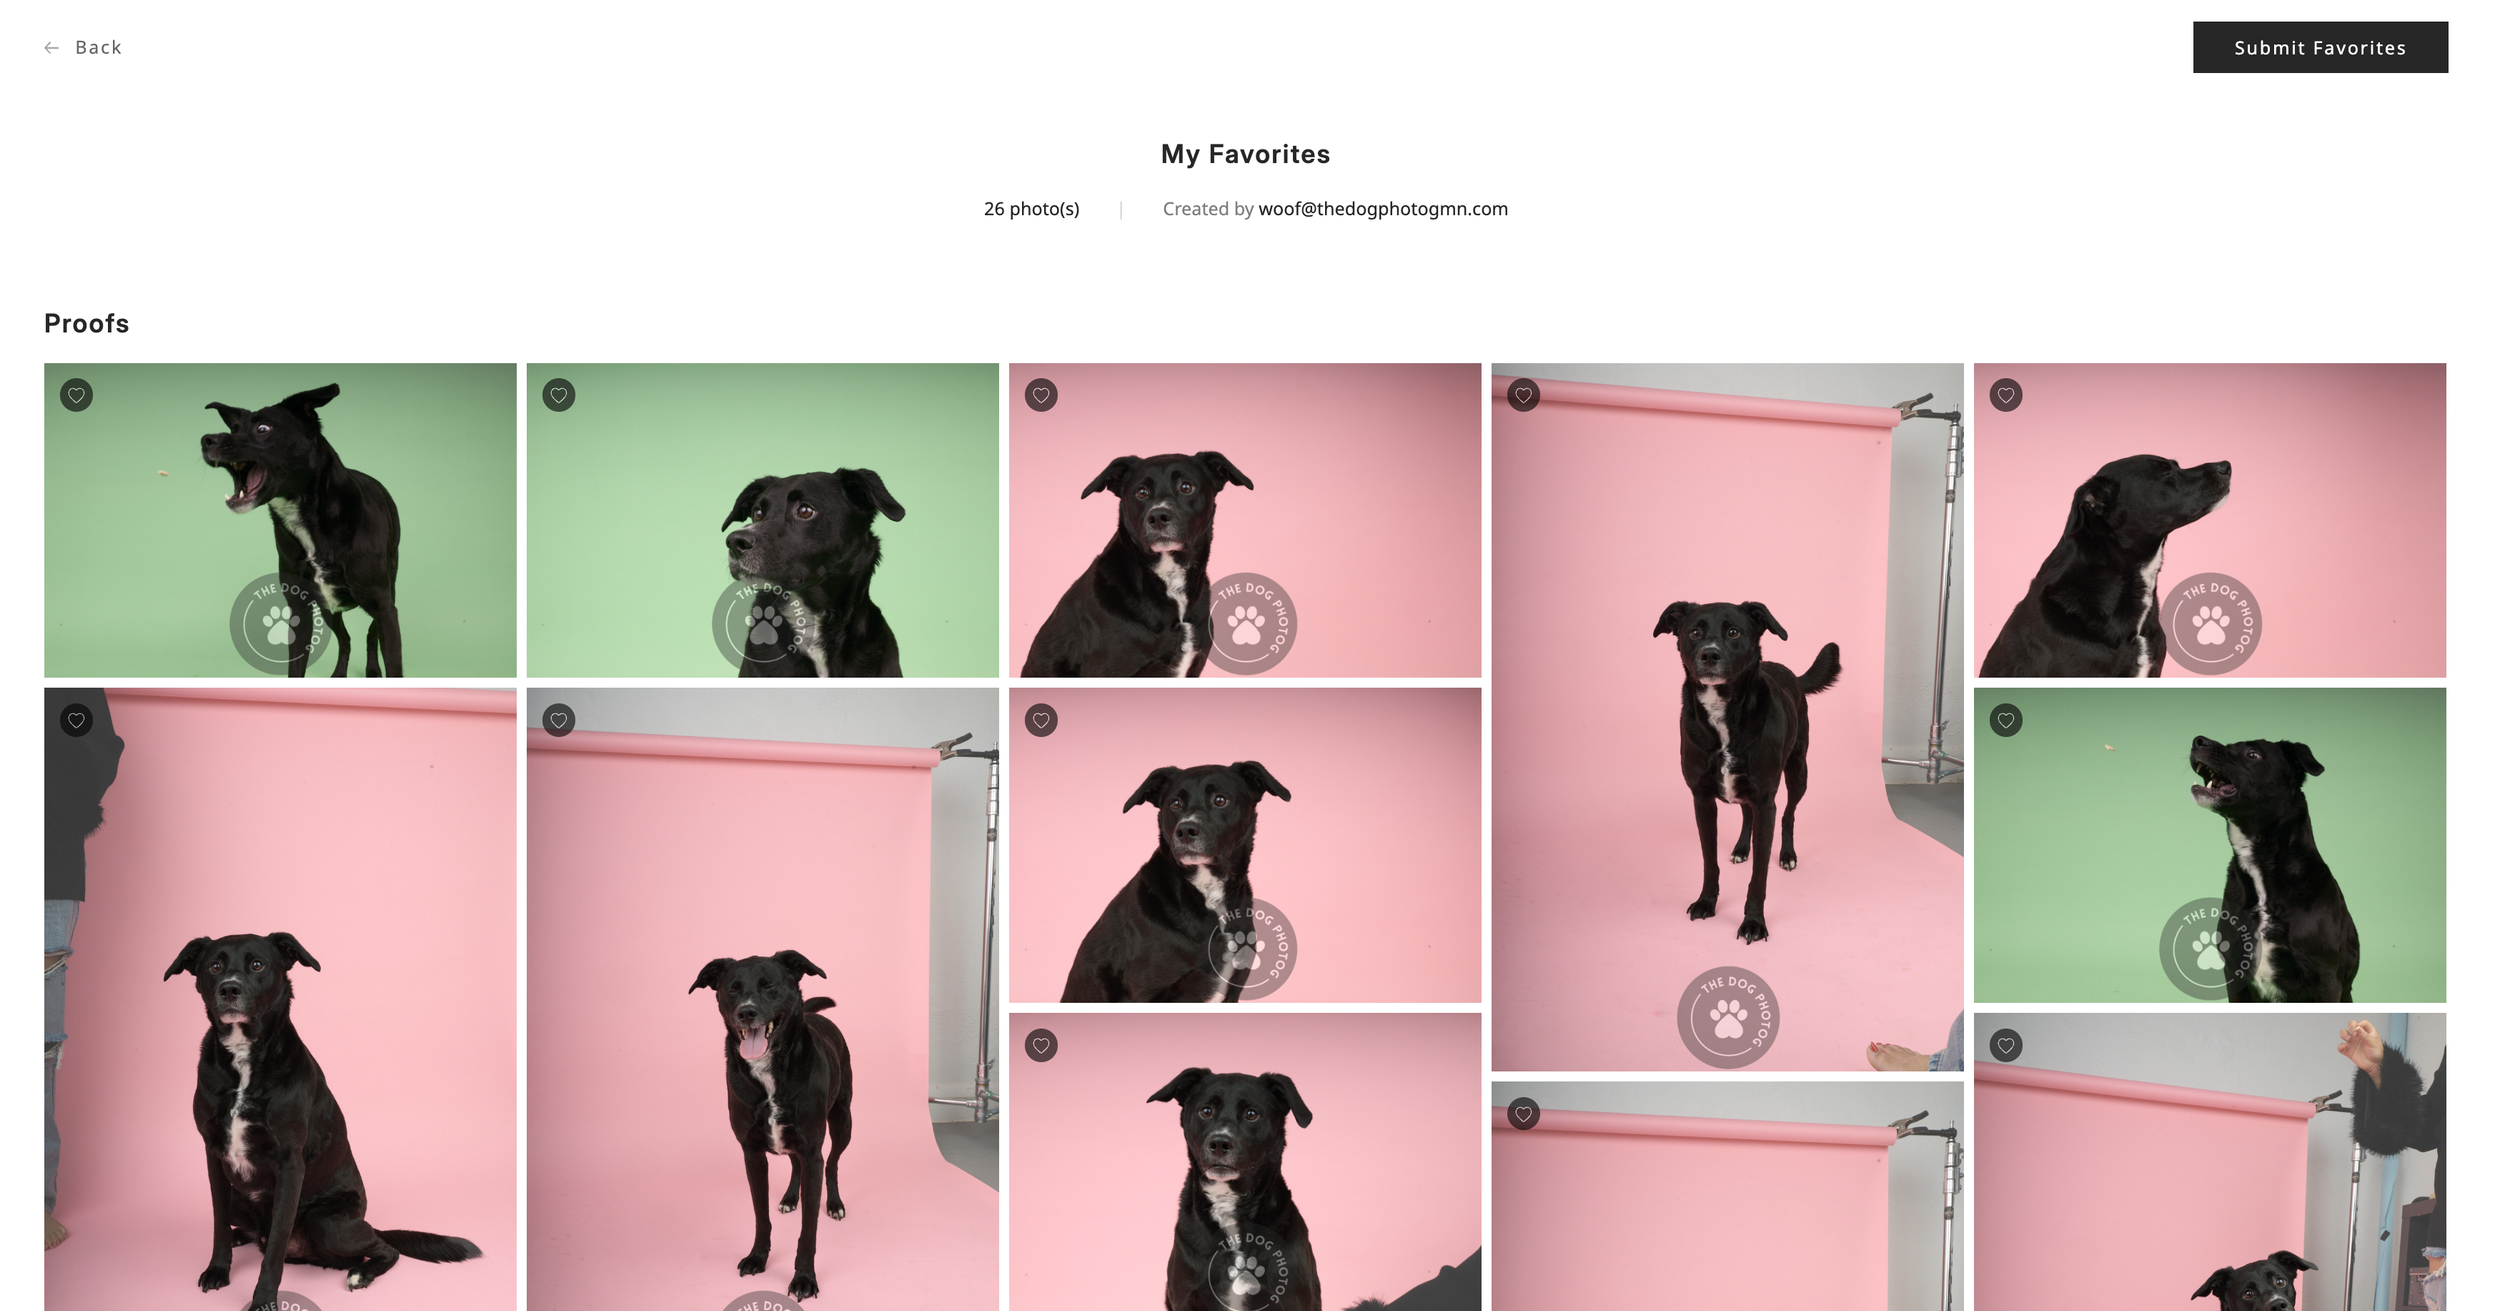
Step 4 — Second Pass: Remove the Look-Alikes
Now open your Favorites folder — click the “Heart” icon in the upper right corner
You’ll notice groups of similar images:
Same setup, slightly different expression
Same pose, different head tilt
Same moment, tiny variations
Your job now is to choose the strongest image from each mini-series.
Ask yourself:
Which expression feels the most them?
Which image would I print?
If I could only keep one from this set, which would it be?
This step usually cuts your list down significantly.
Step 5 — Choose Your Final Images
Your session includes one digital image per dog photographed.
From your Favorites folder:
Choose the images you want included in your collection
If you love more images, simply leave them favorited
That’s it.
Feeling like you want to narrow down your images a bit more?
Start by narrowing down to the images you’d be genuinely sad to lose. Not images that would be “nice to have.” You’ll want the ones that feel essential. The images that will help you feel close to your dog when you won’t hear their collar jingle or their nails scratch the floor when you come home.
Review your images and listen to your gut. As you continue reviewing your favorited images, you’ll eventually notice there aren’t anymore image you’re able to part with. That’s how you know you’re ready to decide which of those images you want to print.
Any favorited images beyond your included amount will be added as additional digital images. No cart. No complicated ordering. Just heart the ones you love.
All selected images are fully edited before delivery.
Step 6 — Start Thinking About Wall Art
Once you know which images you love, start imagining them in your home.
Look for images that:
Have space around your dog
Feel timeless and display-worthy
Make you smile immediately
When you’re ready to order artwork, visit the artwork store to select the artwork you’d like print.
Step 7 — Adding a Product to Your Cart
Select the size of the art
Click “Add to Cart”
All prints and wall art will prompt you with a form to complete with your name, your dog’s name and the image file name from your gallery. The file name is formatted in the style “[DOG’S NAME]-TheDogPhotog-###”
You can copy and paste the file name from the gallery or just type in the 3 digital number at the end of the file name
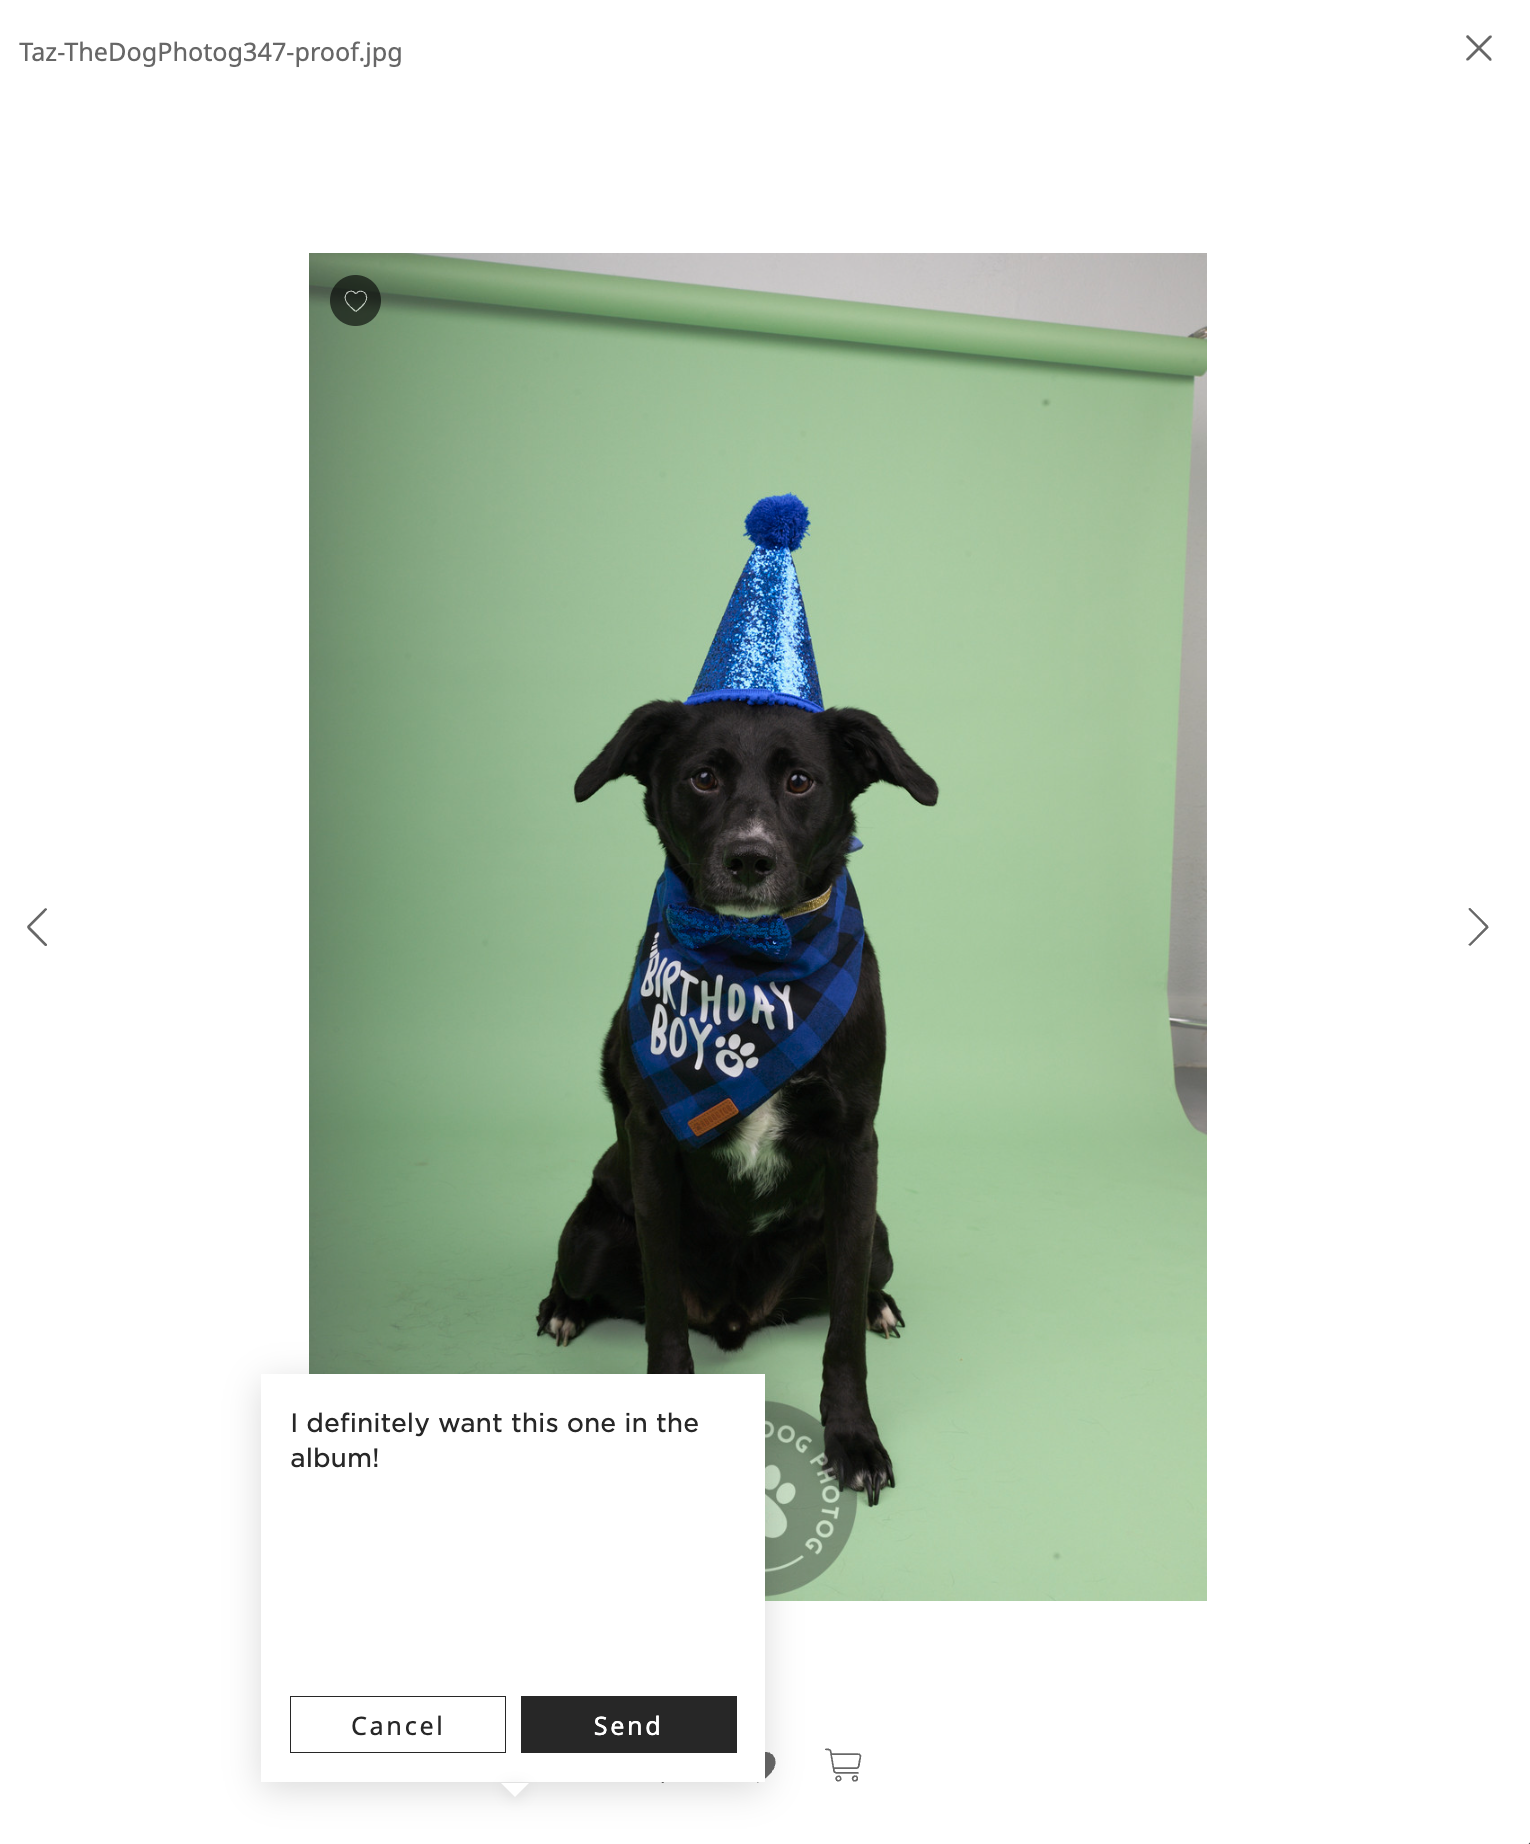
Albums won’t prompt you with a form. The 15+ images favorited in your proofing gallery will be the images that will fill the album.
Selecting more than 15 images? Make a note on the images that you want to be included in the album by clicking the speech bubble to the left of the heart on your image.
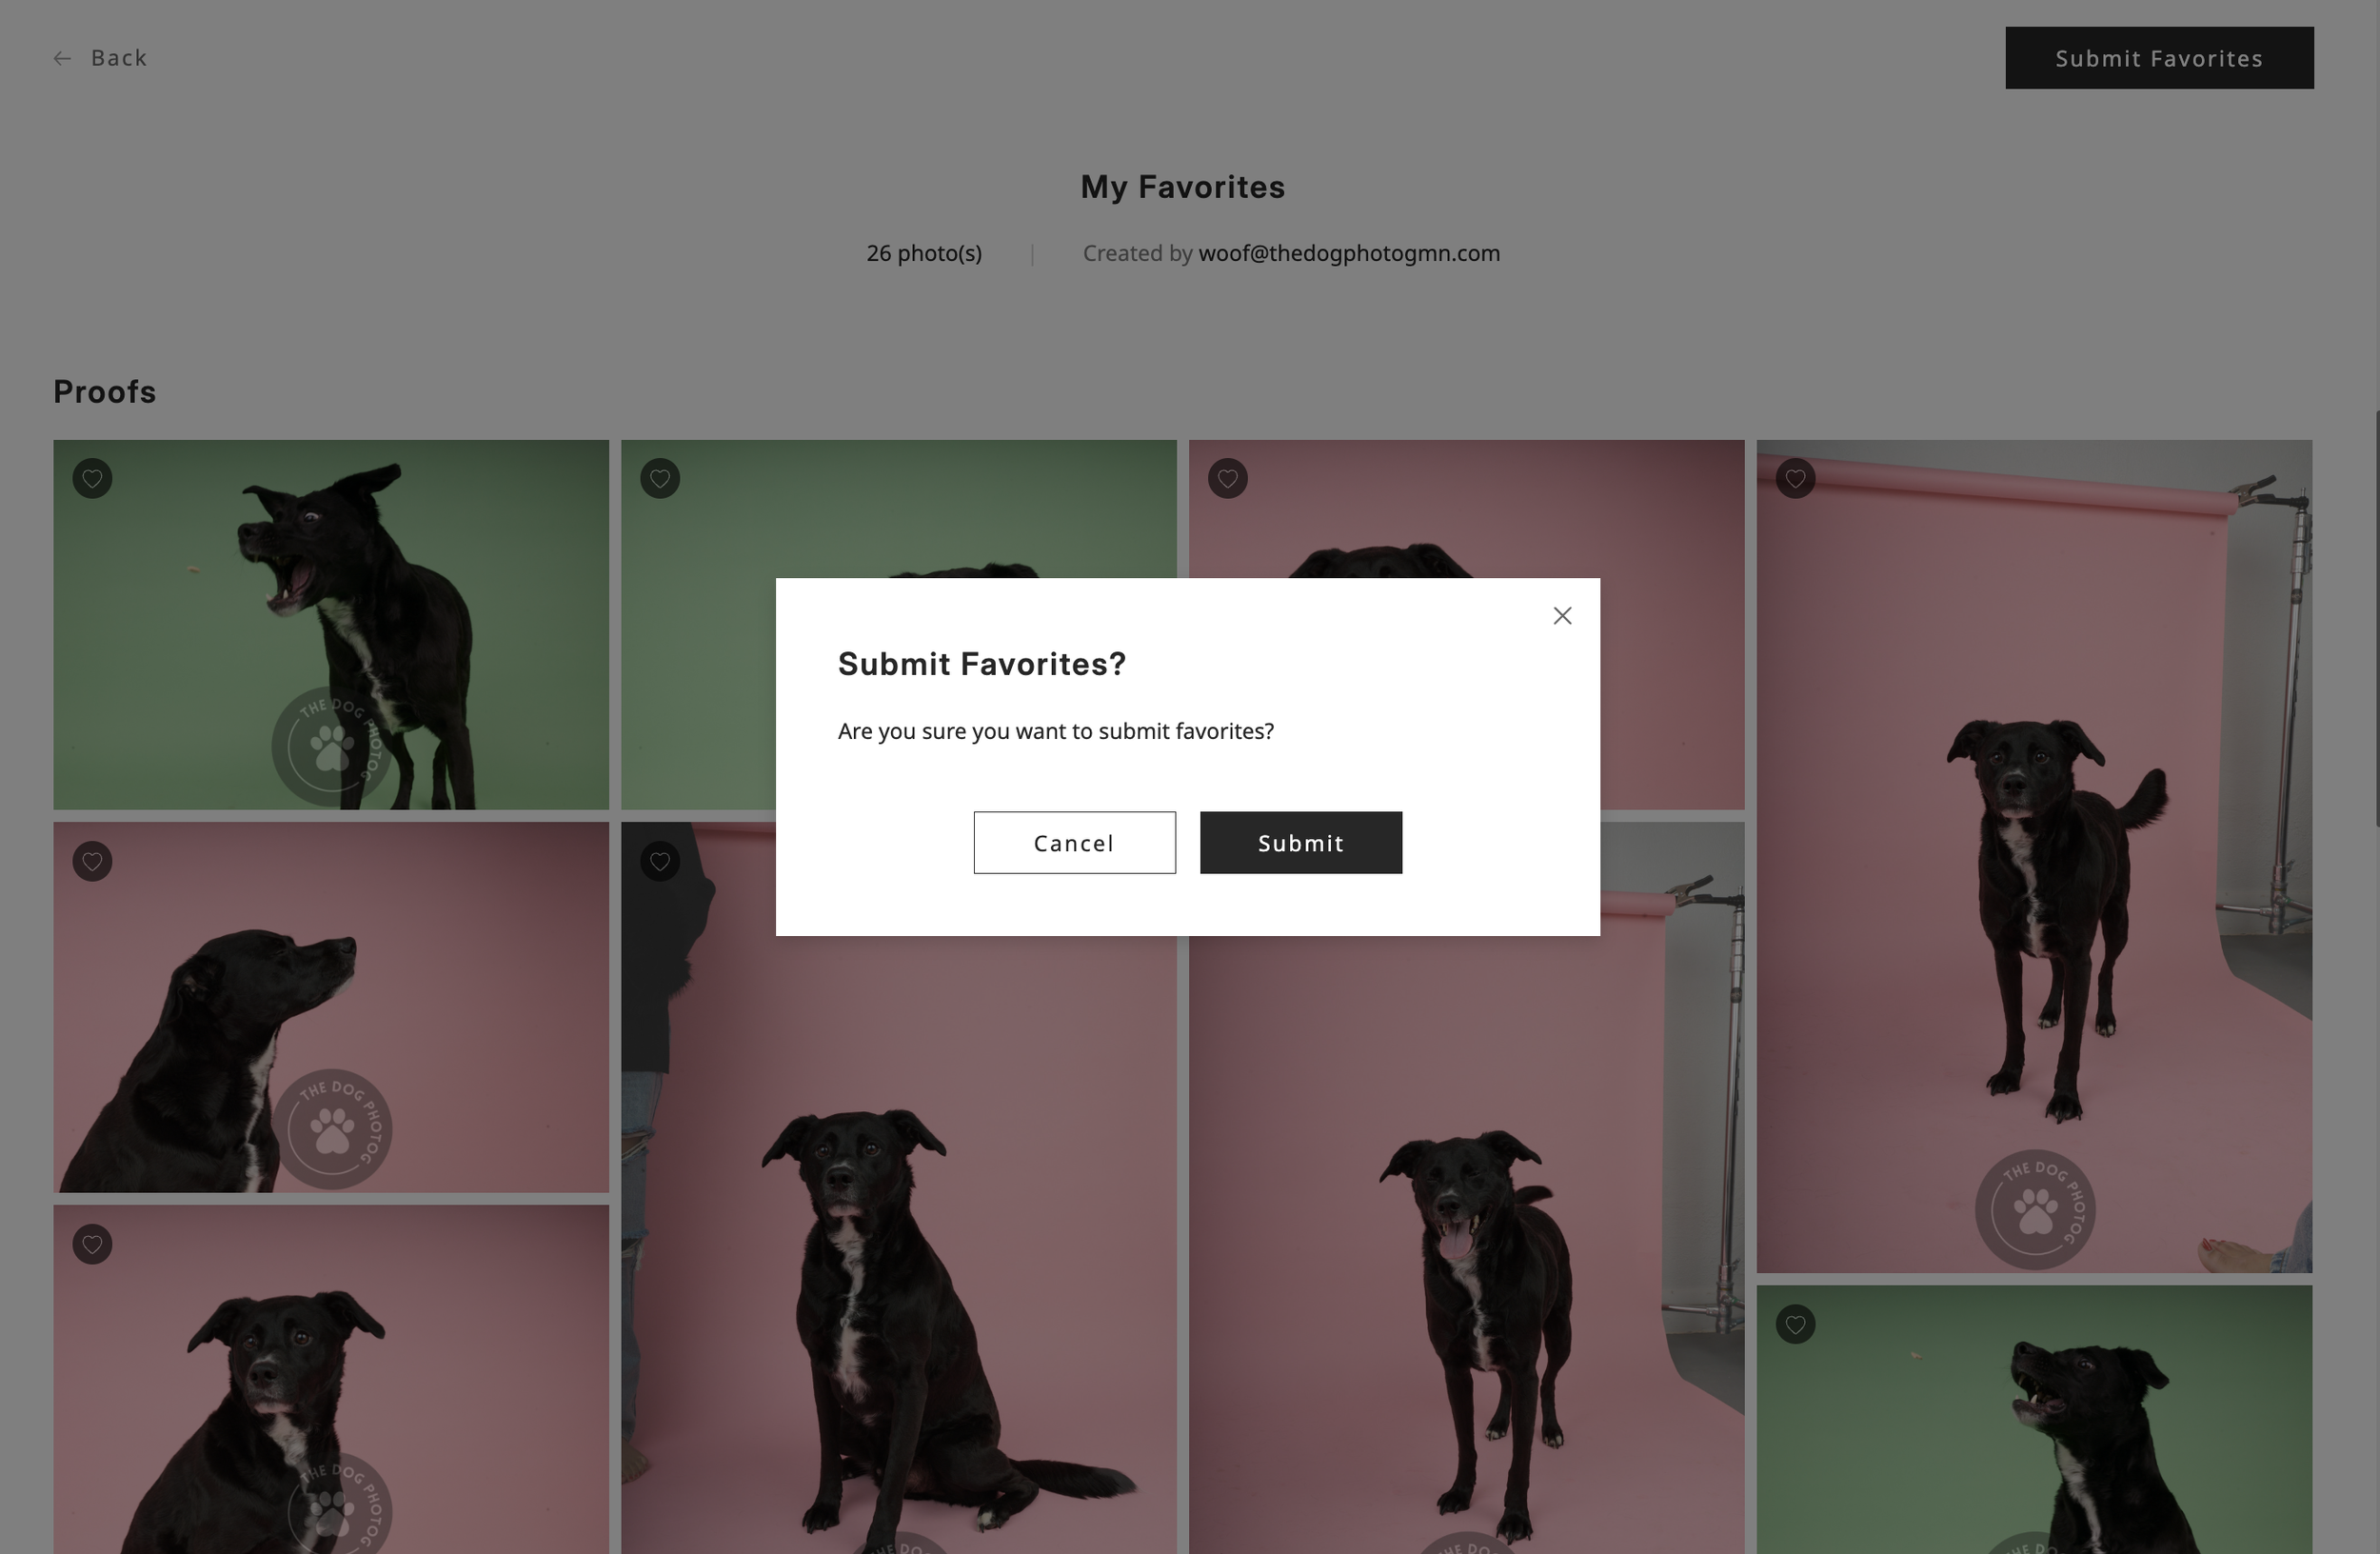
Step 8 — Submit Your Selections
When you’re finished:
Open your Favorites folder
Double-check your selections
Click the “Submit Favorites” button in the upper right corner. This lets me know your images are ready for editing. I’ll follow up with you if I have any questions.
And you’re all set.
Photog Tip: If you’re torn between images, step away for a day and come back with fresh eyes. The favorites almost always become obvious.
Step 9 — Patiently Await Your Image Delivery
After your favorites have been received, you’ll receive an email to:
confirm the number of images to be edited
complete your order of images. An invoice will be hyperlinked for you to pay before any photo editing begins.
Within two weeks of submitting your favorites/completing your invoice, you can expect your images delivered inside your gallery as an album named after your dog. No need to keep a watchful eye on your gallery — you’ll receive an email letting you know your portraits are ready.
And that’s it!
Take your time as you go through your gallery, trust your gut more than the checklist in your head, and choose the images that make you smile every time you see them. Follow these steps and you can’t go wrong!
And as always, you can always email The Dog Photog with any questions that may pop up along the way.